


The process of boning a ham is an art that, with practice and patience, any food lover can master.
Although it may seem complicated at first, with the right tips and steps, boning a ham will become a much simpler task.
Let’s dive into this world and learn together how to bone a ham professionally.
Benefits of deboning a ham
Ham, being one of the most appreciated delicacies in Spanish gastronomy, comes in different shapes and cuts. But why is it so important to debone a ham?
Here is a detailed exploration of the relevance of boning in this delicacy.
- Ease of storage and transport: Boneless ham is usually more compact and lighter compared to a bone-in ham. Without the extra weight of the bone, it is easier to store in the fridge or pantry. Also, if you are thinking of sending it as a gift or transporting it, boneless ham is certainly more manageable.
- Durability and preservation: By deboning a ham, you reduce the risk of the bone, which may contain areas of moisture, negatively affecting the surrounding meat. This means that boneless ham usually has a longer shelf life than its bone-in counterpart, provided it is properly preserved.
- Ease of slicing: Boning a ham makes the slicing process much easier. Without the bones in between, you can obtain thinner and more uniform slices. This advantage is even greater if you use a ham holder for boneless ham, optimising the cutting process.
- Total utilisation: With boneless ham, you get much more out of the meat, as you can cut it without the restrictions imposed by the bones. On the other hand, with the bone separated, it can be used to prepare broths or stews, thus maximising the use of the product.
- Aesthetic presentation: A boneless ham usually offers a neater presentation on the plate. By not having to deal with the bone, the slices have a more uniform appearance, which is ideal for special occasions or to offer an impeccable gastronomic experience to your guests.
- Gastronomic variety: Boneless ham offers the possibility to explore different culinary preparations. It can be used in recipes that require larger pieces of ham without the interference of the bone, such as tartares, terrines or even baked dishes.
Preparations prior to ham boning
The process of boning a ham is meticulous and, to guarantee the best result, proper preparation is essential.
Let’s take a closer look at the details and considerations that must be taken into account before starting the boning process.
Choosing the right ham:
- Origin and Quality: Not all hams are the same. It is essential to know the origin and quality of the ham we are going to bone. If we opt for an Iberian ham, it is good to know whether it comes from acorn-fed or feed-fed pigs, as this influences the texture and flavour of the product.
- Maturation: The curing of the ham is essential. A well-cured ham will facilitate the boning process, as the meat will be at its optimum point of firmness.
Necessary tools:
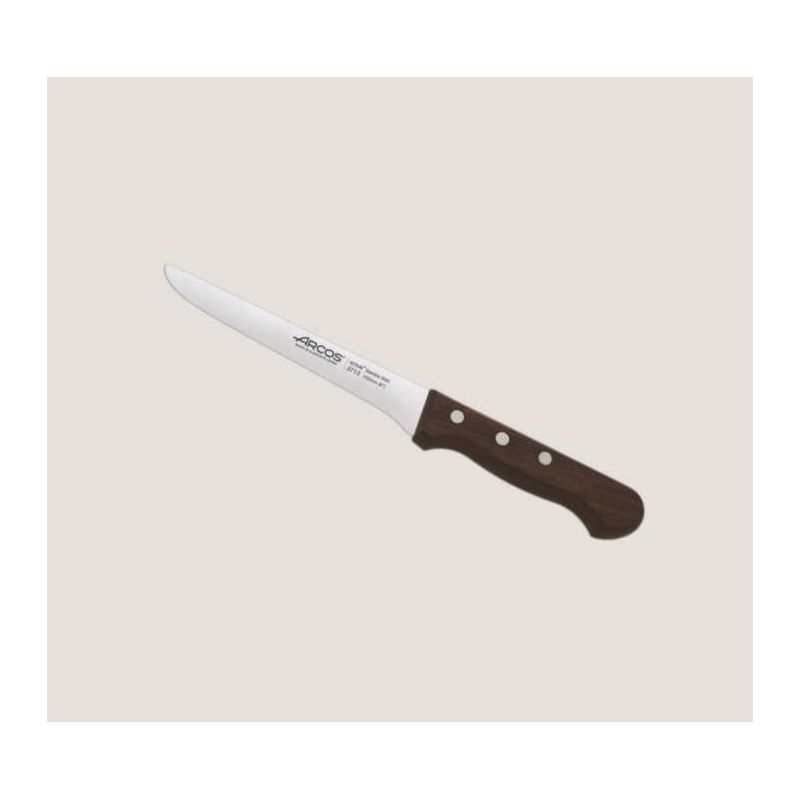
- Ham boning knife: This is the main tool required. A ham boning knife has a particular shape, designed to slide easily between the meat and the bone. Making sure it is sharp is vital to ensure clean and precise cuts.
- Ham holder for boned ham: This holder ensures that the ham is firm and stable during the boning process. The professional ham holder must be sturdy and of good quality to support the weight of the ham and the movements we will make when boning.
- Cutting gloves: Although not compulsory, wearing cutting gloves can provide additional protection against accidents, especially if you are a beginner in boning.
Proper environment:
- Lighting: It is essential to work in a well-lit area to clearly see every detail of the ham and to ensure that the process is carried out accurately.
- Temperature: The ham should be at a suitable room temperature, neither too hot nor too cold. Too high a temperature could make the ham too soft, making boning difficult, while too low a temperature could make it too hard.
- Work surface: It is important to have a clean and large surface. This will give you room to manoeuvre and place the tools and the ham comfortably.
Planning:
Before starting, it is useful to visualise the whole process. Look at the ham, identify where the main bones are and plan your cuts. This will help you avoid mistakes and make the boning process smoother.
Steps for boning a ham
The art of boning a ham is a skill that, once mastered, can elevate your culinary experience to new levels.
Below, we will guide you step-by-step through this meticulous process:
Position the ham in the ham holder:
The first and crucial step in the process of boning a ham is to ensure that the ham is properly secured.
The ham holder for boneless ham will be our best ally in this task. A correct fixation guarantees not only the precision of the cut, but also the safety of the boner.
When placing the ham, it is important that the area we are going to work on is accessible and that the ham does not have any sudden movements.
Make the first cut:
With the help of the ham boning knife, start the process by making a cut close to the bone, delicately following the anatomy of the ham.
This initial cut is essential to set the tone for the rest of the process, and must be made firmly but carefully, so as not to damage the meat or remove more than desired.
Separate the meat from the bone:
Once the first cut has been made, proceed to slide the knife between the bone and the meat, using smooth, steady movements.
The art of boning a ham lies in maintaining a proper angle with the knife and using controlled movements.
The idea is not to cut too deep and to avoid having any meat stuck to the bone.
After successfully removing the meat from the main bone, it is time to remove the main bone.
With precise movements and making sure that all the meat has been correctly separated, the bone is carefully removed.
This step is transcendental since, by doing it correctly, we guarantee an impeccable presentation of our boneless ham.
4. Work on the smaller bones:
Ham has some smaller bones, especially in areas close to the hip or knee.
With the same delicacy and using the ham boning knife, it is necessary to work around these smaller bones to remove them without damaging the surrounding meat.
It is meticulous work that requires patience and precision.
5. Shape the boned ham:
The last but not least step is to shape the ham once all the bones have been removed.
Depending on the purpose, it may be necessary to trim some edges to make the boneless ham look neater and more aesthetically pleasing, ready for presentation or storage.
With these steps, any cooking enthusiast will be ready to bone a ham in a professional manner, preserving the quality and flavour of this delicious delicacy.
Tips for perfect boning
- Sharpen your ham boning knife regularly: A sharp knife guarantees clean and precise cuts.
- Practice with lower quality hams: Before venturing into boning a high-end boneless Iberian ham, it may be useful to practice with lower quality boneless hams to perfect your technique.
- Study the ham: Before you begin, familiarise yourself with the shape of the ham, identifying where the bones are located. This will facilitate the process of how to bone a ham.
In short, boning a ham is a skill that, with practice and patience, can be mastered by any culinary enthusiast.
Whether you opt for a boneless Serrano ham or a boneless Iberian ham, following these steps and tips will ensure a delicious and presentable result.
Happy boning!